EYEBROW ARCH MAKEUP – Techniques for drawing the eyebrow arch, professional tips.
Anyone who knows me knows how fussy I am about this lesson!
I have been an expert in dermopigmentation for many years and I have identified various ways to obtain not so much a ‘perfect’ eyebrow as’ perfectly adaptable to the client’s personality.
Certainly not only us makeup artists must like it! And above all it is important to consider the context.
We know it will be a corrective makeup, so for every day.
We will draw them in the most natural way possible.
Ditto on makeup with character: Arabic, bridal, evening, ceremony, for TV in the role of a beautiful captivating woman.
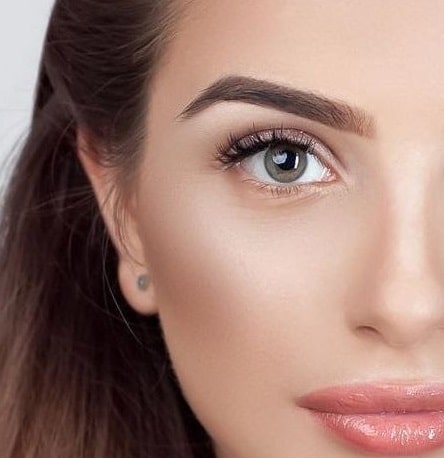
In the previous lesson we talked about the proportions and reference points to create a symmetrical arch in harmony with the facial features, even capable of correcting them.
How to tell if the eyes are close or far away:
imagine a ‘third eye’ in the center of the nose. If there is space between one eye and the other and it fits perfectly then the size is adjusted.
If the measurement for a third eye has nothing to do with it, then the eyes are close. On the contrary if there is too much distance.
How to bring distant eyes closer:
Intensify the make-up in the area closest to the nose; inner corner of the eyes, shadows near the nose and do not lengthen the eyes, but we will go into this topic further on.
The browbone must be drawn closer to the nose, advanced in the initial area and must not be marked towards its end, towards the temples to be clear.
How to space out close eyes:
Corrective make-up must be absolutely matt (opaque).
Flesh-colored to illuminate the area closest to the nose, just below the browbone and around the inner corner.
We will go into specifics in another chapter.
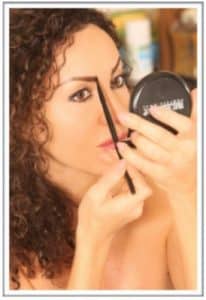
Let’s get to know the techniques by schematizing them:
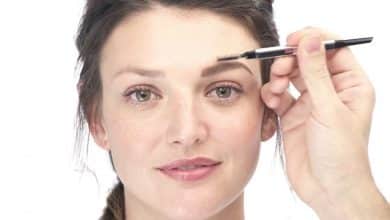
– special well-tempered pencil: it is simple, fast and we can only draw a hair effect in some areas.
But the pencil must be dry and floury to avoid an excessive distribution of pigment.
– we rub the bristles of a thin oblique brush on the lead of a soft eye pencil: we get a gradient and we will draw directly with the brush.
It is one of the techniques that I personally prefer and recommend when it comes to ‘filling in’ empty areas as well as drawing them.
-eyeshadow: choose a special compound similar to an eyeshadow or a well pigmented eyeshadow with ideal nounces. I recommend this technique only to thicken or thicken an eyebrow arch.
– wet eyeshadow: a good concentration of pigment will be essential to obtain the ‘eye liner’ effect.
It is necessary to moisten a precision brush (a round 02 or a thin flat diagonal brush) and create a cream inside the eyeshadow itself by adding a drop of thermal water.
The stretch will be very evident and resistant over time.
It is the best way to obtain the ‘hair’ effect designed as if it were a tattoo, even in a slightly messy way and using two shades thus contributing to a 3D effect, albeit natural.
Ideal on surfaces with very little or no hair.
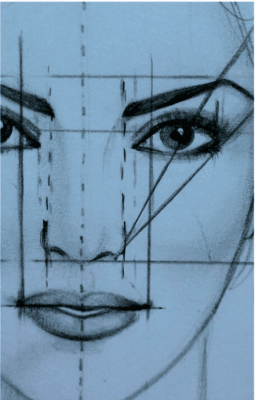
Tips for identifying good symmetry:
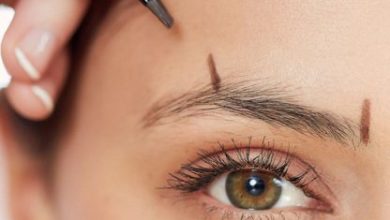
- First step: identify the point from which the eyebrows begin.
 Imagine a perfectly vertical line. From the inner corner of the eye upwards.
Here, that is the point from which to start the drawing! If they are ’empty’ you need to fill them with one of the techniques explained in this chapter.
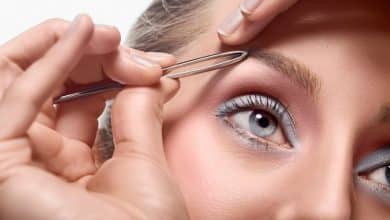
If they are very close to the nose they should be depilated but it is not certain: Ornella muti has them messy and close, they characterize her gaze, giving a hint of jaunty character, sweet and sensual at the same time.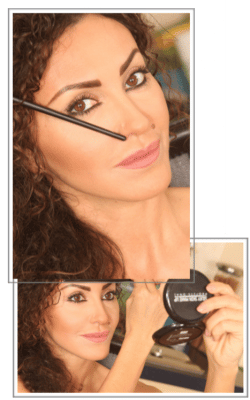
- Second step: look in the mirror. With a thin handled brush, locate the imaginary oblique line that from the outer corner of the nose crosses the iris and ends in the curvature of the arch.That point determines the shape: gull-wing or rounded.
- Third step: From the outer corner of the nostril draw a line that also touches the outer corner of the eye: that is the point beyond which the eyebrow arch must end!• Fourth step: Check the symmetry of your drawing by placing a stick or the handle of the brush horizontally.
You will be able to better check if one eyebrow is lower than the other
You will be able to better control whether one eyebrow is’ lower than the other.